Grand Shooting & AutoRetouch join forces 🎉 •
Learn more ↗
SOLUTIONS
AI SHOOT
AI VIDEO
AI EDITING
Pricing
AI SHOOT
AI EDITING
RESOURCES
USE CASES
BLOG
login
BOOK A DEMO
SOLUTIONS
AI SHOOT
AI VIDEO
AI EDITING
Pricing
AI SHOOT
ai editing
RESOURCES
Use cases
Blog
DOCS
Login
Book a demo
BLOG
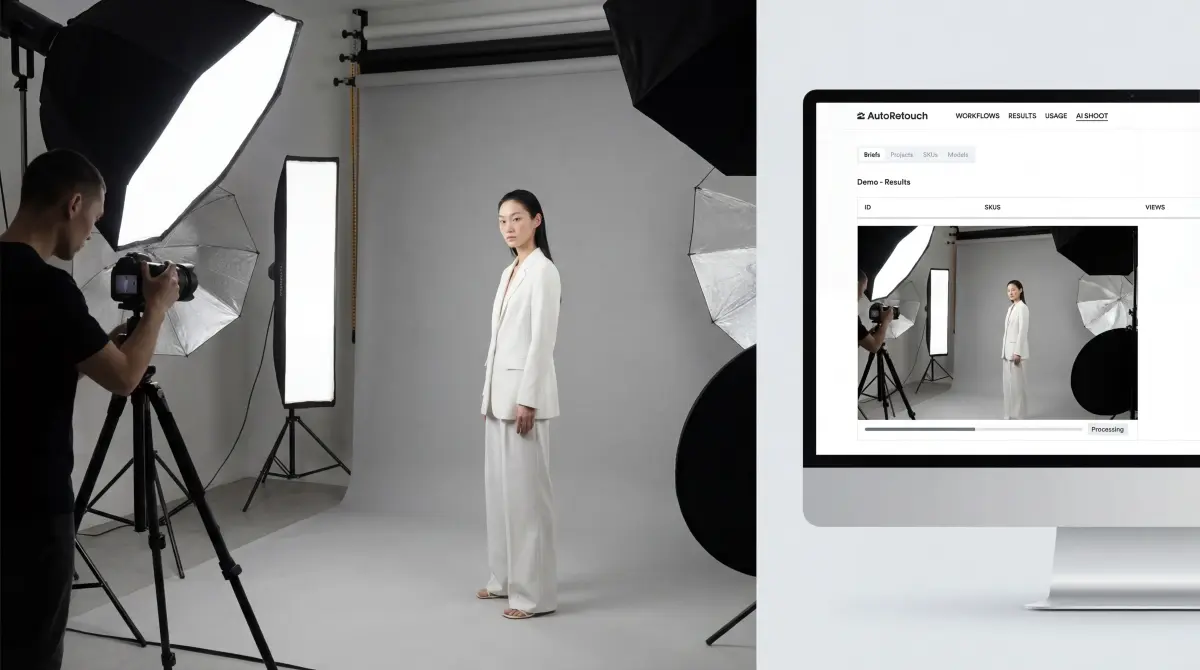
Why the future of fashion visual production is hybrid
How AI is transforming fashion e-commerce: speed, personalization, and visual content at scale
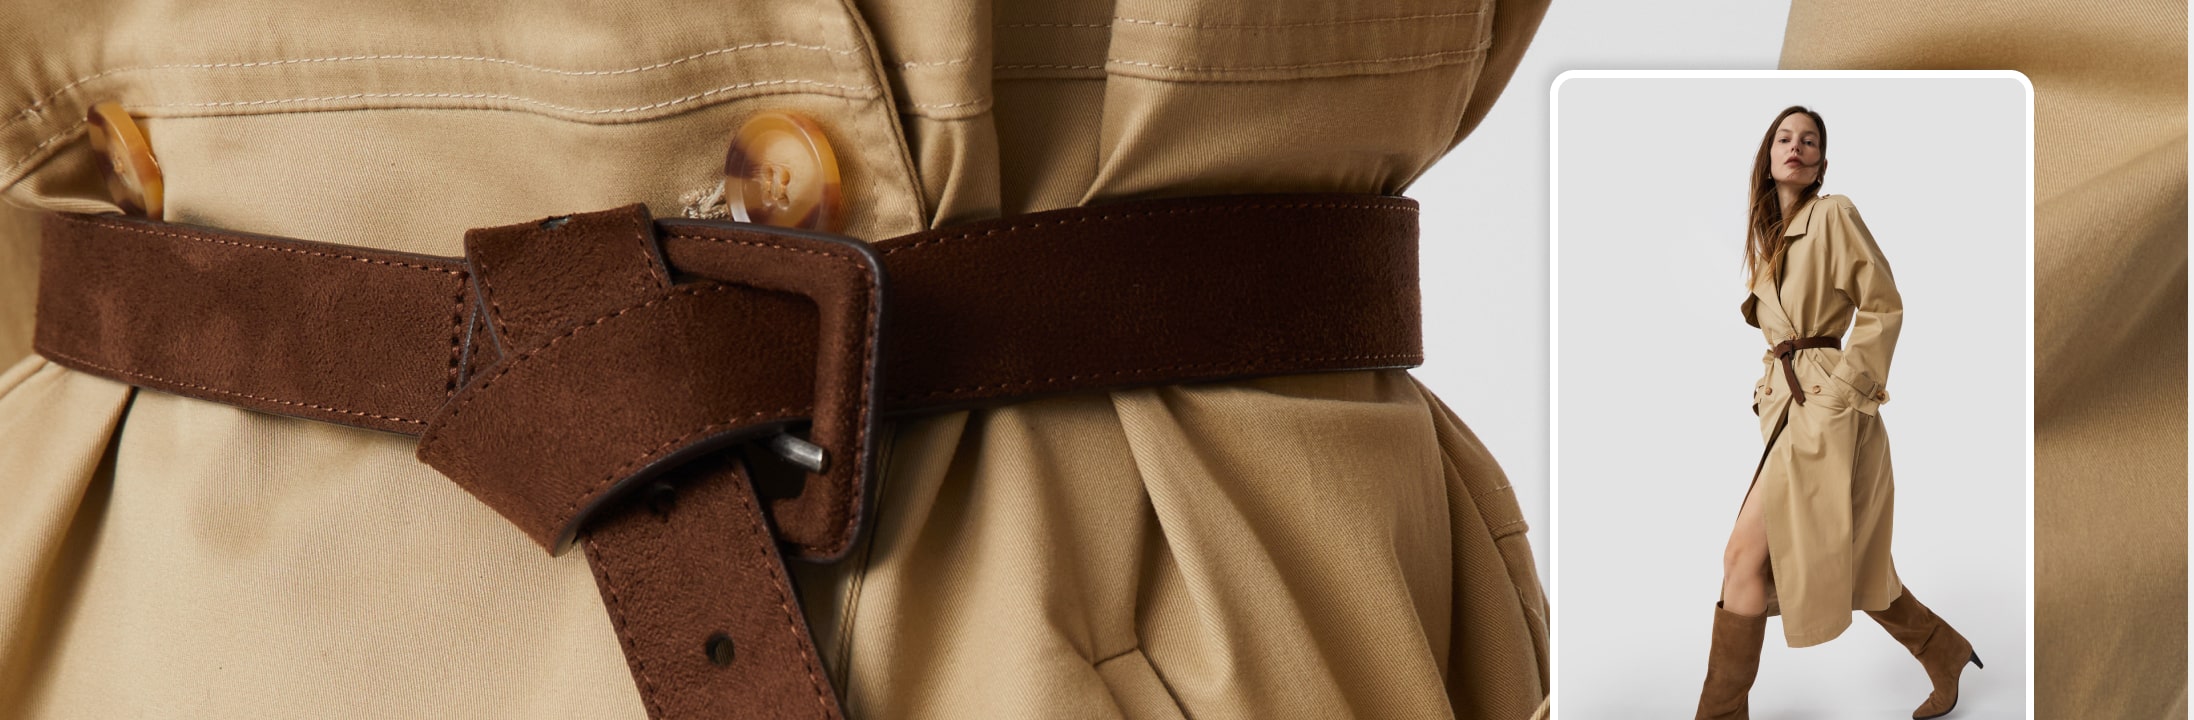
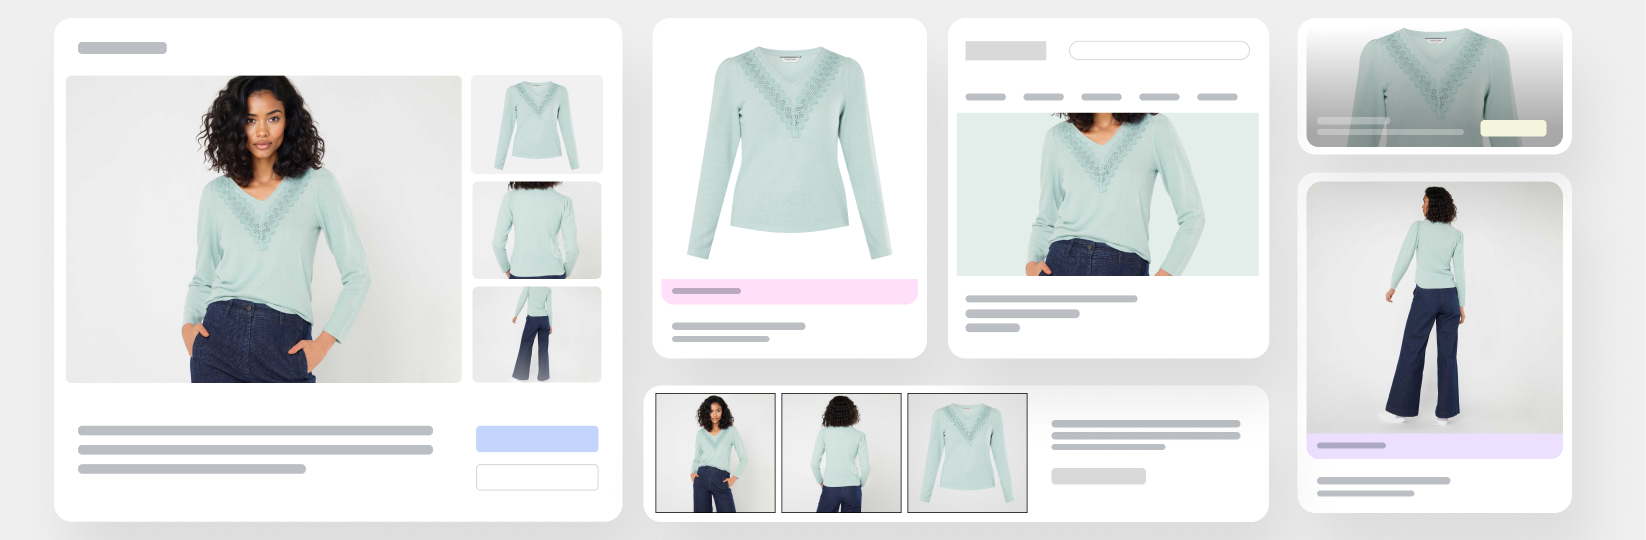
Scaling Fashion Product Visuals: Solving Ecommerce’s Biggest Challenge
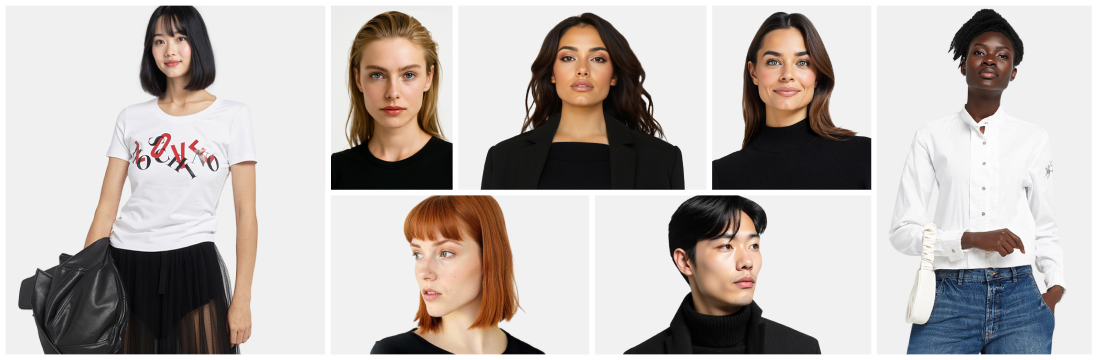
No, AI Isn’t Killing Fashion. It’s Just Changing the Game.